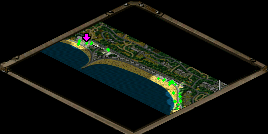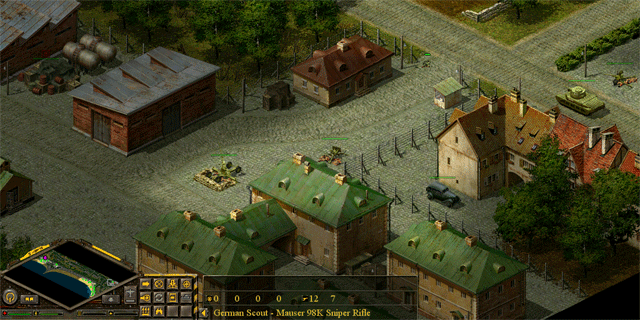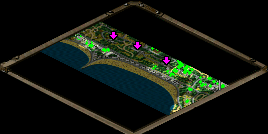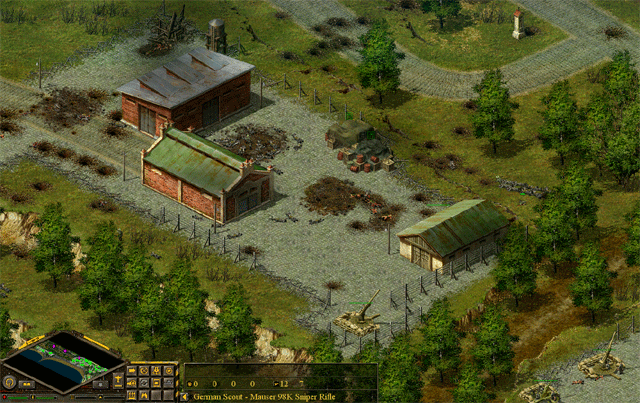
A non-historical map, an alternate story in which Germany invades England through Dover with parachute landings and beach landings.
The original map had a lot of (GB) units included that didn't match the time setting. In this 2019 revision, that has been changed as much as possible. The Vanilla BK doesn't give many unit options to use for that early war period. However, the Sextons, Crusaders and Valentines have been thrown out and mostly been replaced by Humber MK1's. There might still be units in the map ahead of their time, but as this being a non-historical map, it shouldn't matter that much anyway. As 90mm AA guns were necessary, the US M2 remained as an alternative.
This Dover map can be a real pain if you just aim to complete mission after mission. At some specific moments, it may feel like there's no more possibility to proceed. This wasn't done on purpose and although it was intended to be a hard map, the AI, the terrain and the script turned out to be capable of making this map impossible, unless you perform some inevitable steps. Even me, creator of the map, often felt myself on the edge of giving up on it. I guess most that ever played this map actually did give up. For this reason, here's a small guide through:
- The first mission can be dealt with very quick just by being swift. Point your sniper to run beyond the left tent on the beach. Lay down to snipe mode when the patrolling Humber passes by. When it's out of sight, turn to run mode again towards the lighthouse. When almost reaching the first pier, lay down again because the Humber will return. Proceed to the second pier and from there, you should be able to take out the officer standing in front of the lighthouse.
- The second, third and fourth mission have a huge impact on the course of the map and determine the hardiness of it. Every time you complete one of those missions, the script will send specific planes to your aid. These planes will of course be useless when shot to smithereens by the enemy... And this also counts for the weather: completing one of those missions when it is raining, will abort these well-needed planes, even when it is scripted to change the weather. Therefor, delay the mission completions as long as possible until you are certain. Use the save button before taking important decisions!
 Back to the second mission: at the factory, there are trucks and (French) tanks you need to steal. You really need these, so enter the factories as covert as possible. In fact, steal as much as possible, as the RAF being annoying, you need in particular as much as AA guns you can get. The dropped para's should be able to deal with the Humber and one or two Matildas. But thus: don't complete the mission! First, get most of your (recovered and healed) units to the other side of the map. At another lighthouse, steal the much needed 25 pounder. You will need it later to deal with the bunkers, especially those two blocking the way into the hills.
- Third mission is to clear that lighthouse area, but you can also delay it by leaving the enemy soldiers in that small bunker there. It's not an easy mission in case some tanks might get triggered when being seen from the castle area. However, luring tanks towards you can make it easier to get rid of them. Be prepared. One squad and one tank won't do.
- The fourth mission consists in taking that castle area. Once the tanks are lured out and destroyed, your sniper can wreak havoc. Now, again, before completing this mission, the sniper should go into the hills and take out there as much as possible. The more AA's and artillery you take out, the more chance to achieve victory. It is in fact pretty remarkable what the sniper can achieve. I have sneaked passed tanks and bunkers in a way I never thought was possible. But admitted, it takes a lot of crawling and makes half of this map a 'sniper-map'. However, scripted planes will fly over the fifth and sixth mission areas when you finally decide to complete the fourth (castle) mission. So, if you want to guarantee their safeness, you will have to clear their path.

- For the fifth mission, you need to get passed the two bunkers. Not an easy task. You could use captured artillery on them, but then reassure yourself of not receiving artillery shells in return. A massive attack on those bunkers is not impossible, but comes with a great amount of casualties and you'll need a lot of luck dealing with three extra enemy tanks behind the bunkers. This, at least, doesn't make it a 'sniper-map' anymore.
 With reinforcements and captured stuff, the fifth and sixth mission shouldn't be too hard. Then the seventh, eight and ninth mission are as good as one single mission: just follow north upon the hills and conquer these. The seventh however, got me quite stuck. The area seemed impregnable for the sniper and the 4.5 Gun gave headaches. Took me a few hours, after trying everything, before I realized I could drop para's there...
- The last two missions shouldn't be too hard, but beware for enemy planes!
